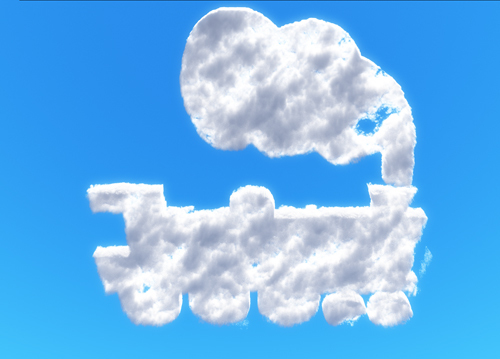
Vue 9.5 adds four new cloud controls that offer a wide variety of new opportunities for sculpting Vue’s cloud layers. In this tutorial I’ll show you how with these you can easily make clouds shaped like words or objects in Vue. This technique is considerably easier than the two methods in my old cloud sculpting tutorials for Vue 6 and above.
I’ve included a couple of ready-made atmospheres (at the end) and cloud textures so you can dive right in but first I’ll show you how to build one from scratch.
Video Tutorial
Controlling Clouds with an Image Text Tutorial
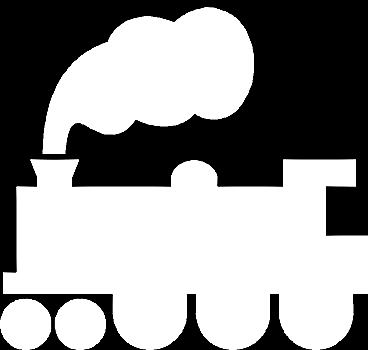
Here is the image I’m going to use to control the Cloud Layer…

Start with Vue’s Default Spectral Atmosphere.
Now open the Atmosphere Editor. Add a Spectral Cloud Layer – the Spectral 2 layers Thick Cumulus Layer and Dense Cumulus Layer are good choices.
Now open the Cloud Material by double clicking on it.
In the new panel at the bottom of the editor click Drive with Function next to Density Modulation.
Replace the Constant node connected to Density Modulation with a Texture Map node.
Set the Texture Map node to be a Projected Texture Map.
Load your Picture into the Projected Texture Map’s Image.
If you’re camera is facing “north” in the scene you’ll probably want to rotate the image twice. You may need to invert it as well if you’ve not done that during preparation.
Set Interpolation to Bicubic.
Set Tiling Mode X and Tiling Mode Y to Once.
Set Scaling to make the cloud big enough to see. I find X 100 and Y 100 is usually enough to get started but you may need another size.
Click Ok on the various dialogues until you’re back to the main Vue screen.
Now point the Camera at the sky at around where x and y are 0.
Render the picture and you should see your picture appear in the clouds.
You’ll probably find you want to make the cloud layer thinner or higher and change the scale on the image to get the best looking cloud.
Linking the Image to the Cloud Layer’s Position
Now we’ve got our basic image in the clouds lets link it to the cloud layer’s position so we can drag it around with the cloud position controls.
First go back into the Atmosphere Editor, edit the Cloud Layer’s Material and go to the Density Modulation (the little arrow to the right of density modulation).
Now click extract parameter next to Origin. A new Constant Node should appear in the display.
Leaving the connection attached to the Projected Texture Map drag it away from the constant and attach it to the output of the Vector 3 Seed attached to the Origin Output.
Click Ok on the various dialogues until you’re back to the main Vue screen. You can now drag and drop the cloud layer and the image moves with the cloud layer.
Fiddling with the image
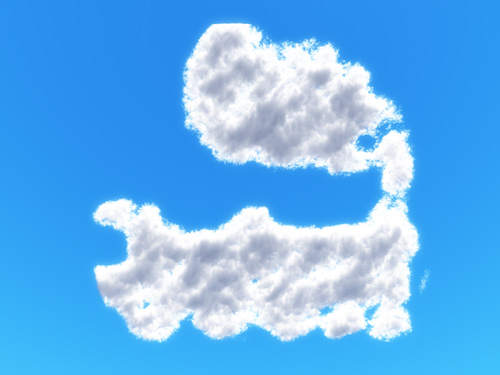
While the basic image we started with was a simple black and white picture you can use different shades of grey to get different effects. A simple one is to apply a strong Gaussian blur to the picture to give softer, less defined edges to the cloud.


Free Vue Resources
Vue Cloud Sculpting Tutorial for Vue 9.5 Resources (319k Zip Archive)
